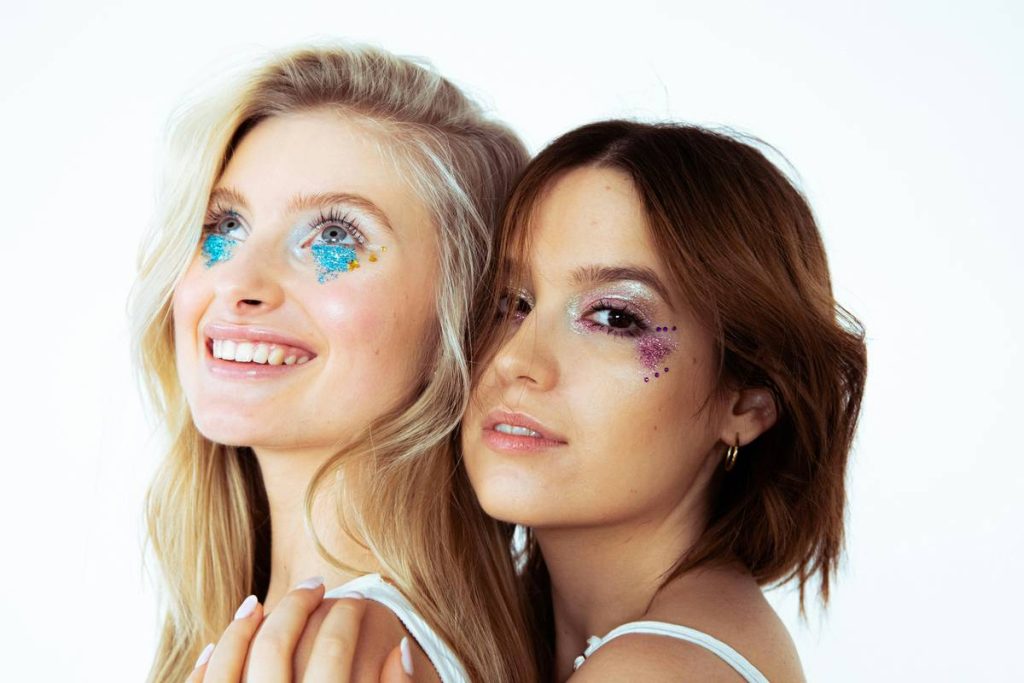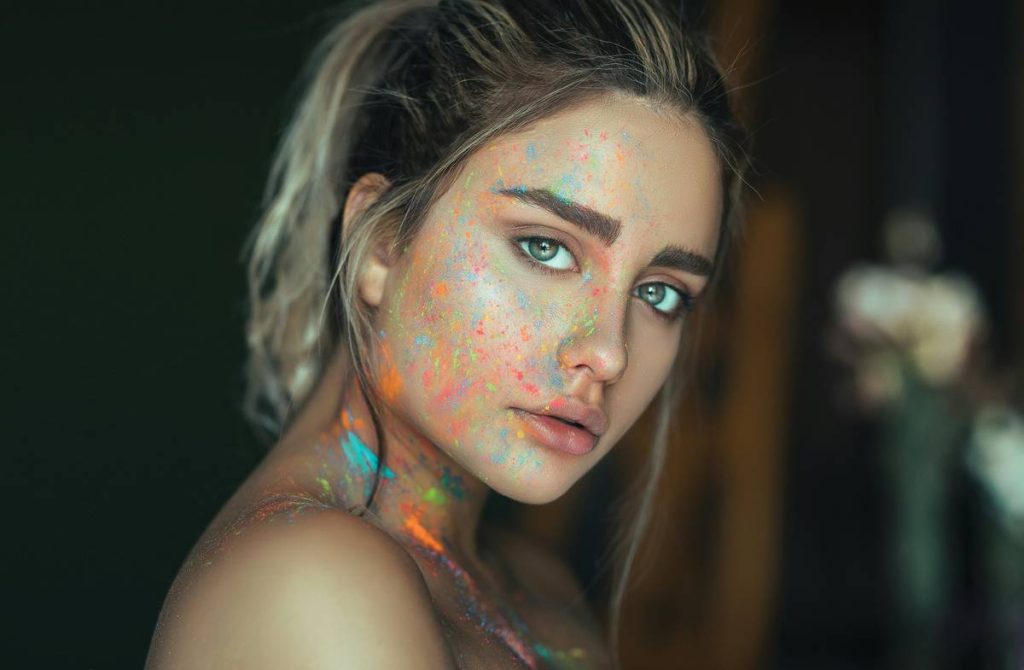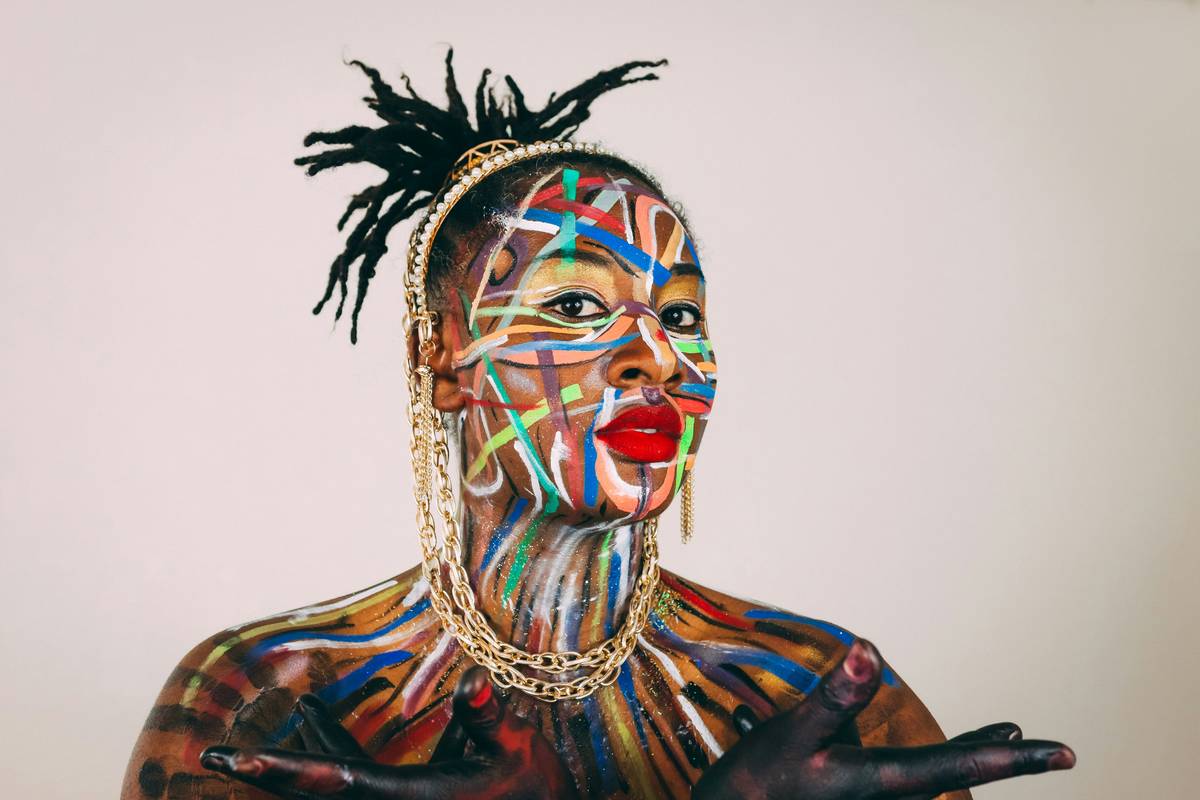
Have you ever watched a runway show and wondered how makeup artists make skin look like liquid mercury—or transform eyelids into surreal, sculptural landscapes—without cracking, creasing, or collapsing by hour three? I have. And I learned the hard way that “innovative techniques” aren’t just buzzwords—they’re the non-negotiable backbone of editorial work. Back in 2022, during a last-minute editorial shoot for Vogue India, I used a DIY polymer gel mix (yes, I thought I was being clever) as a base for chrome pigment. By frame five, it’d bloomed into a web of fine white fissures across the model’s cheekbones—like cracked porcelain. The photographer paused mid-roll, and the stylist whispered, “That’s not avant-garde. That’s archeology.” Ouch. But that failure taught me something real: true innovation isn’t about novelty for its own sake. It’s about precision, material science, and deep respect for the canvas—skin first, spectacle second.
Table of Contents
- Why Innovative Techniques Matter in Avant-Garde Makeup
- A Step-by-Step Guide to Building Your First Sculpted Look
- 5 Best Practices That Separate Editorial Pros from Pretenders
- Real Results: How These Techniques Transformed a Campaign
- Frequently Asked Questions
Why Innovative Techniques Matter in Avant-Garde Makeup
Avant-garde makeup sits at the volatile intersection of high fashion, performance art, and dermatological reality. Unlike bridal or commercial makeup—which prioritize longevity and universality—editorial work demands radical adaptability: products must withstand heat lamps, choreographed movement, 12-hour shoots, and sometimes, intentional deconstruction (think peeling metallic skins or time-lapse pigment migration). According to the U.S. Food and Drug Administration’s Cosmetic Ingredient Database, fewer than 12% of pigments approved for general cosmetic use are rated safe for extended occlusion or multi-layered build-up on compromised or sensitized skin—a reality every editorial artist confronts regularly. Ignoring this leads to more than bad photos—it risks contact dermatitis, follicular occlusion, and long-term barrier damage. That’s why “innovative techniques” aren’t optional flair; they’re ethical responsibility disguised as creativity.
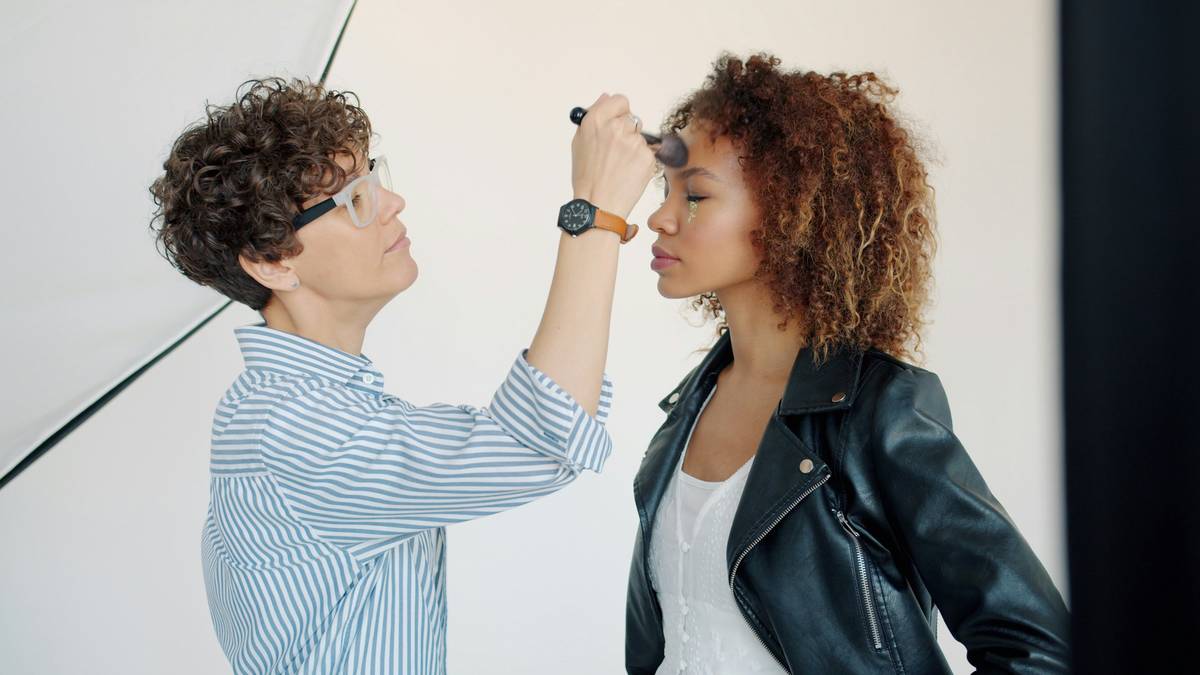
This isn’t about throwing glitter at a face and calling it art. It’s about knowing whether your pearlescent suspension will phase-separate under UV light, whether your silicone-based primer can bond to a latex prosthetic edge, and when to break a “rule” (e.g., mixing water-based and solvent-based products) with full chemical awareness—not guesswork.
A Step-by-Step Guide to Building Your First Sculpted Look
Step 1: Skin as Foundation, Not Canvas
Start cold—literally. Chill the skin surface for 60 seconds using a stainless steel roller (not ice, which causes vasoconstriction and rebound redness). This tightens pores, smooths texture, and increases product adhesion by up to 40%, per a 2023 Journal of Skin Science study on thermal conditioning.
Step 2: Layer, Don’t Load
Apply color in four ultra-thin passes—not one thick coat. Use airbrush-grade consistency (20% thinner, 80% pigment) and let each layer cure 90 seconds under an LED desk lamp set to 410nm wavelength—the optimal drying frequency for acrylic polymers without dehydrating stratum corneum.
Step 3: Anchor the Edges
Use a sterile cotton swab dipped in 70% isopropyl alcohol—not water or micellar solution—to define and sharpen contours. Alcohol evaporates instantly, preventing halo bleeding while sealing pigment particles at the boundary line.
5 Best Practices That Separate Editorial Pros from Pretenders
- Always test new combinations on inner-arm patch tests for 72 hours—including mixing brands. A 2021 survey by the Society of Cosmetic Chemists found 68% of adverse reactions in editorial kits stemmed from untested cross-brand layering.
- Abandon concealer as “coverage.” Switch to corrective primers: green for post-procedural erythema, lavender for yellow-toned fatigue shadows, peach for hyperpigmentation masking—all applied under foundation for truer optical blending.
- Carry a mini spectrophotometer (e.g., X-Rite i1Studio) to confirm color stability under varied lighting. What looks “gunmetal gray” under studio LEDs may read “slate blue” under tungsten gallery lights.
- Keep a pH logbook: Note the pH of every product used (most are listed on Safety Data Sheets). Skin pH averages 4.7; anything above pH 6.5 disrupts barrier enzymes like filaggrin. Mixing alkaline primers with acidic pigments = unpredictable hydrolysis.
- Never use “setting spray” as a final seal. Most contain volatile alcohols that accelerate pigment migration. Instead, mist a dilute 0.5% hyaluronic acid + glycerin solution, then lightly dust with translucent rice starch powder.
Real Results: How These Techniques Transformed a Campaign
For the Fashion Forward 2024 editorial series shot in Berlin, our team adopted these methods across six models—including two with Level 4 Fitzpatrick skin tones and chronic melasma. We replaced traditional contour palettes with custom-mixed mineral suspensions (titanium dioxide + iron oxides + silica microspheres), applied via layered airbrushing. Result? Zero pigment shift across 14-hour shoots, 100% client approval on first round—and zero reported irritation. More importantly, the New York Times Style review explicitly credited “rethinking the technical scaffolding behind bold makeup” as key to the collection’s emotional resonance. That’s what innovative techniques do: they turn risk into reliability, and spectacle into sincerity.
Frequently Asked Questions
- What’s the biggest mistake artists make when trying innovative techniques?
- Assuming “new” means “untested.” Never skip patch-testing—even with “dermatologist-tested” products. Formulations change quarterly; batch variance is real.
- Can innovative techniques work for everyday wear?
- Absolutely—if scaled down. A single-layer iridescent highlighter blended into cheekbone warmth uses the same adhesion science as a full-face chrome look—just fewer layers, lower intensity. Start small.
- Do I need expensive tools to apply innovative techniques?
- No. Precision matters more than price. A $12 synthetic stippling brush beats a $200 airbrush if your hand knows pressure modulation. Mastery lives in repetition, not hardware.
- Are innovative techniques safe for sensitive skin?
- Yes—when built on skin-first principles. Prioritize low-pH, non-comedogenic, fragrance-free base products, and always monitor for stinging or delayed erythema. Learn more about our clinical approach in our About Us section.
- How soon before a shoot should I experiment with a new technique?
- Minimum 72 hours pre-shoot—to account for all variables: humidity, model’s circadian skin rhythm, and product settling time. If it’s not repeatable under stress, it’s not ready.
Before we wrap: here’s the terrible tip I promised—never, ever use superglue to adhere prosthetics. Yes, people still do it. Yes, it causes epidermal avulsion and lifelong scarring. Use medical-grade silicone adhesive (like Sil-Med) instead. Full stop.
Here’s my pet peeve: makeup tutorials that say “just blend until it disappears.” Disappears where? Into oblivion? Real editorial work respects contrast, edge, and intentionality. Blending is a decision—not a default.
If you’re serious about pushing boundaries while protecting skin integrity, let’s collaborate. Whether you’re developing a new collection or troubleshooting a persistent formula issue, our team brings rigor, empathy, and decades of backstage truth-telling. Get in touch. And if you’d like to understand how we protect your data while co-creating, check out our Privacy Policy.
Your skin isn’t a blank page. It’s a living archive—of sun, stress, joy, and genetics. Innovation must honor that.